Wednesday, June 29, 2011

Ridiculously Easy DIY "Honey" Mustard Dressing


I ran out of the salad dressing that I usually use the other day so I started tinkering with some ingredients to see if I could come up with a "honey" dijon mustard style dressing.  This is so super easy I feel kind of ridiculous posting this, but I figured there might be someone out there who would be interested.  So here it is, my ridiculously easy "honey" mustard salad dressing!


"Honey" Mustard Dressing
(Makes 1-2 servings)

-1-2 TBSP of dijon mustard 
-1 packet of Truvia or sweetener of choice
-splash (1-2 TBSP) of plain non-dairy milk

Add the mustard and Truvia together with a splash of non-dairy milk.  


Stir it all up and then determine if it's the desired consistency.  You may want to add more non-dairy milk if you want your dressing to be a little thinner or to have a less powerful mustard taste.  


If it is the desired consistency, then that's it!  Easy as that!  That's why I feel kind of crazy posting this, but I figured if it took me that long to figure out, then someone else might benefit from it.  :)  Then you put it on your salad and enjoy!


Easy, simple DIY "honey" mustard dressing in just a couple of minutes (or less)!  


Monday, June 27, 2011

Just a Couple of Non-Scale Victories


See this sleeveless workout shirt I am wearing?  Well, two days ago was the first time I ever wore this out in public.  I wear it around the house a lot to work out in, but NEVER in public.  I have always felt very self conscious of my arms and have never worn sleeveless clothes for as long as I can remember.  I remember being really distraught when my softball team decided to go with sleeveless shirts for our uniforms when I was just 15 or 16 years old.  I HATED that uniform.  As soon as the game was over, I would change into another shirt with sleeves.  I was that self conscious about it.  But I am finally starting to feel better about my body including my arms.  Maybe someday I will even feel comfortable wearing sleeveless clothes other than workout shirts.  

My other non-scale victory has to do with clothes.  One of my summer projects was to clean out my clothes closet again.  I did it last summer and got rid of a lot of clothes but I knew I would have a lot more to get rid of again this summer.  I ran across a pair of jeans I called my "skinny jeans."  They were a size 16.  My old roommate gave them to me when she started losing weight in college.  When I lost a lot of weight in college, I was able to wear these jeans and I felt so good about myself in them.  But as soon as I started to gain weight back, I immediately couldn't wear the jeans anymore.  

So I decided to put the "skinny" jeans on again and see how they fit.  I took some pictures and you can see below my "skinny" jeans:


My new "skinny" jeans are now a size 6.  I bought them when I went home to visit my parents.  I am still a few pounds away from being able to wear them comfortably, but they fit.  I also took some pictures with them on:


And I also bought a pair of size 6 capri pants.  I also feel like I need to lose a few pounds before I can wear these.  Here is a picture of the capri pants:


I also put on an old hoodie that I love.  I knew I wouldn't be able to wear it anymore, but I wanted to see how it fit now.  I am also including a picture of me wearing this hoodie 2 years ago:

I really wanted to do a side by side comparison photo but I couldn't figure out how to do it!  So the first picture is me just a few days ago and the second picture was taken in California 2 years ago.  

Just a couple of non-scale victories I thought I would share.  :)

Thursday, June 23, 2011

Let's Get This Period Started and Roasted Beet Chips

(Beets have such beautiful color and patterns that I never even knew about!)


This may be kind of a TMI kind of post for some, but I am going to take a risk and publish it anyway!  I have not had a period for about 5 months now.  I have been trouble shooting every possible reason for why this might be happening.  I think my periods stopped around the same time I started running more to get ready for the 5K that I did in April.  
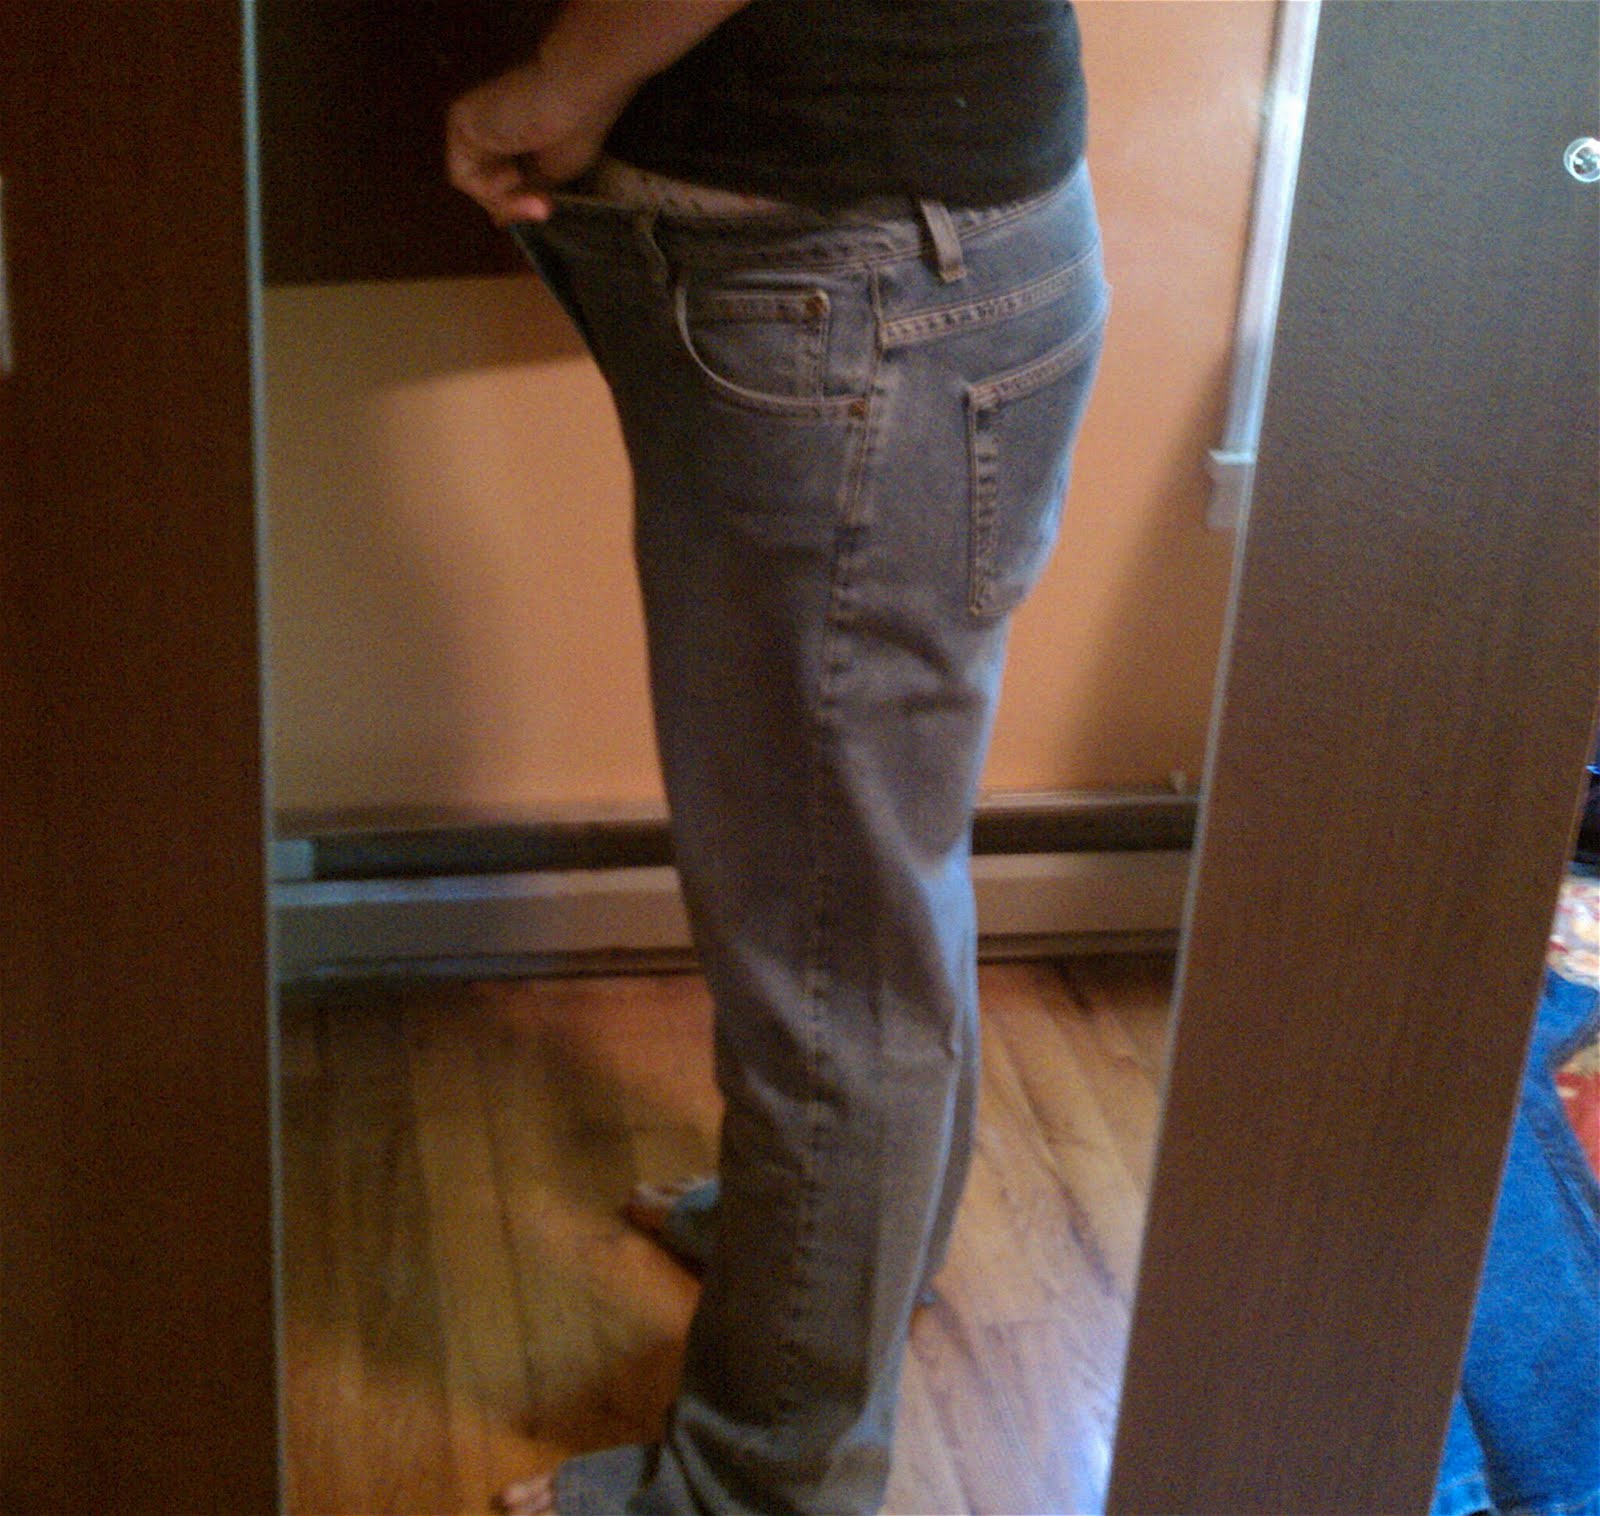
It could just be because I have lost a lot of weight in the past 2 years.  Although, my weight loss has been gradual—definitely not speedy weight loss.  In fact, over the past year, my weight loss has slowed down a lot.  So I have done some different things and I have looked into different health options as far as trying to get my period started again and figuring this thing out. 

The first thing I did was go to an acupuncturist.  I have never had acupuncture before so this was a completely new experience for me.  Getting to experience the needles and the process of acupuncture was neat, but I only went twice for a couple of reasons.  Reason #1—when I told the acupuncturist that I was vegan, he immediately felt like my being vegan was why I was having problems with my period.  He tried to act like he supported my decision to be vegan, but I could tell that he thought this was the source of my lack of periods.  Reason #2—after two times of going to see him, I really couldn’t tell any differences with my body.  Now I will be honest, I am not very in tune with my body.  I don’t really notice subtle changes with my body.  So this is probably part of the problem, but since I wasn’t noticing anything, I decided to explore other options. 

Next, I went to see the doctor at the women’s health center.  I just wanted to know for sure that something more serious wasn’t happening with my health.  I also told her I was vegan.  She seems to think it’s because I’ve intensified my exercise and I have lost weight.  She said she didn’t feel like there was anything for me to worry about, but she wanted to get my period started with Provera.  She claims that this is a “safe” drug but check out the list of side effects here:  YIKES!  I decided to hold off on getting this prescription filled and see what else I could do.  The lab technician also took blood samples to test for thyroid issues and other things requested by the chiropractor (I will get to her shortly.)

Next up—I sought out 
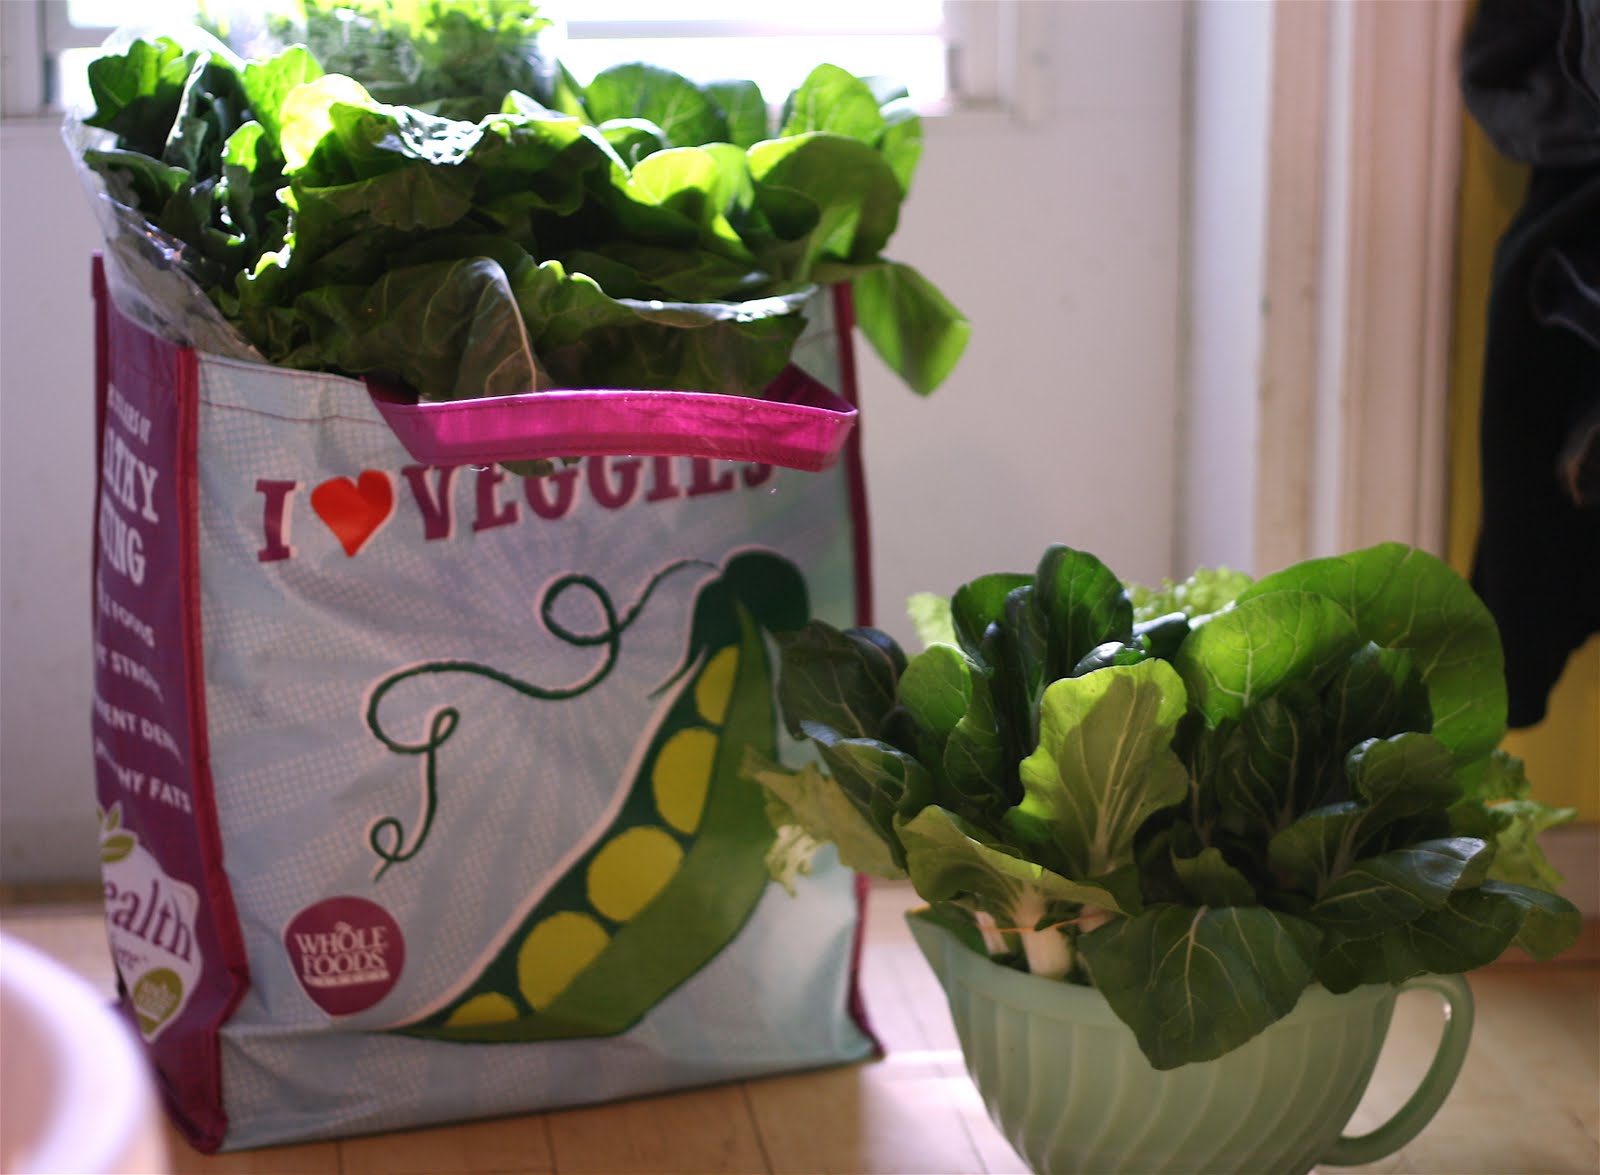
help from the wise VB and an employee at Earth Fare.  These are some suggestions that have been recommended and I will note if I have tried them or not:

-Dong Quai (Yes-I drink it in my tea at night)--Although, I think it's kind of funny that something that is supposed to help the female system has "dong" in the name!  
-Raspberry Leaf Tea (Yes-I drink a cup of tea at night)
-Nettles (I bought some but since they are loose leaves, I need to prep them for tea.)
-1 TBSP of molasses a day (No-this was recommended by the acupuncturist (along with eating more root vegetables and denser foods) but I have not tried it yet. 
-Eat more root vegetables and other dense foods –I have been eating more beets and some sweet potatoes. 
-Vitex—This was another supplement at Earth Fare, but I have not tried it yet. 

This may sound a little crazy, but I have also tried “Deliberate Intent.  R is reading a book right now called The Amazing Power of Deliberate Intent and she was telling me that thoughts can carry weight and be very powerful.  So I have tried thinking about my period and putting a lot of thought into it, but so far it hasn’t worked.  Oh well, this idea is free so I thought I would give it a try.  It never hurts to try! 

Last but not least, I visited a chiropractor.  She was highly recommended and I also had a free consultation card that a friend gave me.  So I thought, “Why not?”  I have met with her twice now.  During my first visit, she got a lot of basic information from me, looked at my tongue and also took some X-Rays of my pelvic area.  When I went back to see her yesterday, she showed me my X-Rays and also did a correction on me.  She feels like my lack of period has nothing to do with weight loss and exercise.  When looking at my X-Rays, she found that a section of my lower back was out of alignment.  That section affects reproductive organs, colon, groin and large intestines.  My Sacral area was also out of alignment and that also affects reproductive organs, bladder and some other areas.  The chiropractor also suspects my body is having a hard time processing glucose.  That’s why she wanted some additional blood work done to look at some different things.  She felt like we should spend some time trouble shooting before resorting to anything like Provera.  I couldn’t agree more. 

I guess I will just have to wait and see.  I plan to go back to the chiropractor and I am also crossing my fingers that my Pap comes out normal from the women’s clinic.  Hopefully, I can figure this out and get back on my normal cycle.  It’s so weird—I have always thought periods are such an inconvenience and a hassle and here I am now trying to do everything to get it started again! 

In the process of all of this and trying to eat more root veggies, I discovered how delicious roasted beets are!  I have always associated beets with the pickled beets my grandma would make.  I’ve never really been a fan.  So when I see beets at the farmers market and at the grocery store, I just walk on by.  But since beets are a root veggie and they are supposed to be a good iron source, I decided to try again and maybe have a corrective experience with them.  Now I can’t get enough of these roasted beet “chips!” 


This recipe is super simple and I feel kind of silly calling it a “recipe” but maybe there are some of you out there avoiding the beet because of thinking of pickled beets like I used to. 

Roasted Beet “Chips”
(Preheat oven to 400 degrees)

-As many beets as you like (I usually get about 3 or 4 good sized beets)
-oil
-salt

Peel the beets and then slice them as thin as you can get them.  The thinner they are, the crispier they get. 

Spray a cookie sheet with spray oil OR spread a small amount of oil onto the cookie sheet so that it’s covering the entire cookie sheet. 


 Place the beets on the cookie sheet making sure that they are all spread out like cookies.  Then spray another layer of oil (I use the Misto spray bottle) on top of the beets.  Then lightly salt. 

Bake for about 10 minutes and then flip them over and bake for another 7-10 minutes.  Just check on the beets periodically to make sure they are not burning.

(You can also clean up your "beet crime scene" while you are waiting for them to bake!)

The cooking time has varied for me each time I have made them.  Just make sure that the end result is that they are mostly crispy but not burned.  Once again, the thinner you can slice them, the crispier they will get.  The thicker slices tend to just cook but not get crispy. 

Take out of the oven and enjoy!  

Friday, June 17, 2011

Book Review: 21 Day Weight Loss Kickstart

(Photo of book cover from PCRM)


When I went home over spring break in April, I bought a copy of Dr. Neal Barnard's 21-Day Weight Loss Kickstart.  I have to confess, I probably wouldn't have bought this book, but I knew I was planning on hearing him speak and wanted to have him sign a copy!  So I started reading the book on my way home from Oklahoma on the airplane.  When I got back to NC, I went to his talk/book signing and had him sign a copy of his Get Healthy, Go Vegan cookbook and the 21-Day Weight Loss Kickstart.  Like a star struck nerd, I froze up when I met him.  I wanted to tell him how inspired I was by his books and his PCRM recipes and website, but all I could do was tell him my name.  That was it!  I felt so lame!

(Dr. Barnard signing my book)

Dr. Neal Barnard truly amazes me.  He has published too many books to count, he travels the country speaking, he is the president of PCRM, he is a professor at George Washington University and he is always at the forefront of current discussions on veganism and health.  

(Photo of Dr. Barnard from PCRM)

Now to the book review part.  :)  I really liked this book a lot.  I like a lot of things about it, but I think what I liked the most is the simplicity of it.  Dr. Barnard does an excellent job of explaining concepts and terms in an "everyday person" kind of way.  Here were some of my favorite parts (in case you already have the book or you are planning on buying/checking out the book, I will include chapters and page numbers):

-Food that naturally tame your hunger/appetite--Chapter 2
-Glycemic Index foods--page 35
-Metabolism and food that help--Chapter 3
-Heart Healthy foods--Chapter 4
-Explaining Vitamin B12 (page 83)
-Reading food labels (pages 106-107)
-Adapting favorite recipes to make them vegan (pages 108-110)
-Restaurant suggestions and advice (pages 112-118)
-Navigating social situations (page 143)
-Fighting disease with diet (page 176)
-Fighting pain with diet (p. 198) ***Dr. Barnard has an entire book devoted to this topic***
-A brief overview of ethics and the environment (but not too much to turn someone away)--page 213

I loved that this book is truly veganism in a nutshell from the health perspective.  I know there's so much more to veganism regarding ethics, the environment and other issues, however, this is a great book for someone interested in veganism just for health reasons.  I definitely believe that reading about veganism from an ethical and environmental standpoint is very important but many people who are just interested in health and losing weight would never pick up one of those books.  If Skinny Bitch was called "Skinny Vegan" I don't think as many people would have read it.  I am not sure it would have gotten the attention and publicity that it has.  But that's just my opinion.  Many people first come to veganism for health reasons but then they read about ethical reasons later on down the road.  I am just the opposite of that.  I came to veganism because of ethical reasons (and that's still my number one reason for being vegan) but now I am very interested in veganism for health.  

The 21-Day Weight Loss Kickstart helps explain veganism, guides your through the grocery store, provides an ingredients glossary, showcases some cooking techniques (I especially liked the caramelized onions without oil tutorial on pages 331-332), and the restaurant suggestions and advice.  I feel like a person who eats the SAD diet (Standard American Diet) would be able to read this book and have the confidence to jump into veganism.  They may feel a little overwhelmed just for the fact that they are switching their diet.  I know when I started Weight Watchers, I felt a little overwhelmed at first with trying to figure out all of the Points Values for foods.  But once you get the hang of it, you don't even have to think about it anymore.  I even felt the same way when I switched over to counting calories with Spark People.  It was a little stressful at first trying to get everything programmed into Spark People but now that I have most of the foods I eat programmed in, I just have to get on the computer or my phone and log it in without really thinking much about it.  I also love that if a person is confused about something, they can always go to the PCRM website and get additional information and recipes.  There's so much information out there to help a person become a healthy vegan.  I love that!

I also love that the 21-Day Weight Loss Kickstart has a recipe section.  I made a list of all of the recipes that I want to try!  Some of those recipes include:

-Cuban Black Bean and Potato Soup (page 255)
-Caldo Verde (p. 256)
-Red Pepper Vinaigrette (p. 260)
-Creamy Chipotle Dressing (p. 260)
-Quinoa and Red Bean Salad (p. 261)
-Balsamic Zucchini Sandwich (p. 267)
-Jamaican Stir Fry (p. 276)
-Hakka Noodles (p. 277)
-Grilled Portabello Steaks (p. 280)
-Sundried tomato Lentil Loaf (p. 281)
-Shredded BBQ (p. 284)
-Sundried Tomato Sauce (p. 293)
-Masala Chai Apple Crisp (p. 304)

That's a list!  :)  If you haven't already read this book, I would highly recommend it.  If you have been vegan for a long time, many of the concepts you will already know but it's still a very interesting and informative book to read.  Also, if you have a friend who wants to become vegan for health reasons, this would be a great book for them.  Even though the title of the book is about losing weight, I really think it's just about reclaiming your health with a vegan diet. 


Friday, June 10, 2011

Summer is for Salads!

Sushi Roll Edamame Salad-recipe from Isa Chandra Moskowitz's Appetite for Reduction


I love all of the fresh produce during the summertime!  Before I plan the meals for the week, I try to go to the farmers market to see what I can get first.  Then I try to base the weekly meals off of what I find and what I still need to use in the kitchen.  I have mostly been buying greens at the farmers market, but in just a couple of weeks I know there will be a lot more to choose from.

Greens from the farmers market


Strawberries, asparagus, green onions and greens from the farmers market


Local strawberries

During the summer, I make a lot of salads.  It's a great way to use up a lot of the fresh, local produce and it's a meal I don't have to cook.  If I don't want to turn on the oven because it's too hot, a salad is a perfect meal.  The sushi roll edamame salad in the first picture is from Appetite For Reduction.  If you don't own this cookbook-go and buy it now!!  Seriously, Isa Chandra Moskowitz's recipes are amazing.  In my opinion, her flavors are always unique and amazing.  Here are a couple more pictures of the Sushi Roll Edamame Salad.  Make the Green Onion Miso salad dressing that she gives the recipe for alongside the salad.  It really has an amazing flavor!


(This picture is with the green onion miso salad dressing-it's amazing!)


Another salad I love to make is a simple taco salad. 


 If you use tortilla chips, you don't really have to cook anything.  However, I have started making my own tortilla chips out of the Ole High Fiber Low Carb Tortillas.  I use just one tortilla and it makes plenty of "chips" for my taco salad.  A regular serving of tortilla chips is about 140 calories but if I make my own chips with the tortilla, one Ole tortilla is about 70 calories.  Since I am counting calories now, I really try to cut corners like that when I can.  However, when I make my own chips, I have to use the oven to get them to be crispy.  That can be a pain during the summer because of the heat.  But this is what I do:


I preheat the oven to about 300 degrees.  Then I spray a cookie sheet with the Misto oil sprayer until it's lightly coated.  I take one tortilla and cut it into small pieces.  Then I spray some oil on top of the pieces and lightly salt it. I bake them in the oven for about 6 minutes and then turn them over and bake for another 4-6 minutes or until lightly browned and crispy.  That's it!  Then you can assemble your taco salad with anything you have on hand.  I typically use lettuce or spinach, tomatoes, salsa, corn, Tofutti Sour Supreme, whatever beans I have on hand, or just whatever else you want.  It's a good way to use up some produce that you have.  


What salads do you make?  Do you make any of your own salad dressings?  Do you grow any of your own produce?  


Wednesday, June 8, 2011

The Not So Chunky Monkey Smoothie


Other than working a half day tomorrow, I am technically out for summer break!  That means I have the luxury of being at home to prepare my meals and snacks for the day.  This gives me much more freedom and flexibility with what I make.  If I get inspired to create a new recipe, I can walk right into the kitchen and create it right then and there.  I love that!  Today for lunch I had taco salad and roasted beet chips but I still had a sweet tooth.  I decided that since it's been pretty warm lately that I would make a dessert smoothie.  I knew I wanted something chocolate so I created the "Not So Chunky Monkey" Smoothie.  I used to get a hot drink at a coffee shop called the Funky Monkey so I guess it's inspired by that.  If you are like me and you always have frozen banana chunks and cold coffee on hand, you can throw this together in seconds flat.


The Not So Chunky Monkey Smoothie

-200 grams of frozen banana chunks (If you don't have a food scale, this is about 2 small bananas.)
-2 TBSP cocoa powder
-1-2 packets of Truvia or sweetener of your choice
-1 cup of cold coffee (If you have left over coffee from your morning pot of coffee, just put it in a to go cup and refrigerate it so you always have cold coffee on hand.)

Put all ingredients in the blender and blend until smooth.


This smoothie came out to be a little over 200 calories.  However, if you are doing Weight Watchers, then you should only have to count the cocoa powder in the recipe.  Since you can really just use one large frozen banana in this recipe, I don't see why you would need to count the banana as points in the recipe unless you have just been eating a ton of bananas on the day you make it.  But that's up to you to decide.  :)

Friday, June 3, 2011

Pumpkin Protein Bars (Regular and Gluten Free Versions)


Ever since we went to Hawaii for my 30th birthday celebration, I have been working on this pumpkin bar recipe.  I wanted to be able to make something for our 10+ hours flight to Honolulu that would stay with me.  I tried to be deliberate about the food I packed so I wouldn't feel ravenous and eat everything in site.  It sort of worked, unfortunately, I still ate out of boredom.  (10 hours is a LONG time to be stuck on a plane!)  Since then, I have made these pumpkin bars a few more times.  Each time, I tweak the recipe a bit to make it better.  I think I finally have it the way I want it!  I feel like this is my own recipe but I do want to credit the Happy Herbivore and the Fat Free Vegan for giving me my initial inspiration for the recipe I came up with.  The Happy Herbivore's recipe is here and the Fat Free Vegan's recipe is here.

It kind of seems like there are several parts to this recipe but it comes together quickly.  Also, once you have this recipe made, it makes 12 bars that last me for 1-2 weeks in the refrigerator.  Once you get them individually wrapped, they are so convenient and they really do have staying power.  I am really trying to think about the foods I eat and trying to mostly eat foods that will stay with me for 2 or more hours.  Even though there are only 140 calories per bar, they have almost 6 grams of protein and 6 grams of fiber and less than 3 grams of fat.  I would say that's some pretty good nutritional stats!

Once R discovered that she needs to eat gluten free, I experimented to see if I could easily convert this to a gluten free recipe.  It worked perfectly with oat flour and Bob's Red Mill certified gluten free oats.  Using these gluten free ingredients increases the calories a bit, but not too much.  The gluten free recipe turned out just as good.  I had to use almond extract in the gluten free version because I ran out of vanilla--that gave them a different taste but the bars still set up just the same as the wheat version.

Also, just a couple of notes about the recipe.  1)  Don't fear the beans!  Just like with the silken tofu, the beans take on the flavor of the pumpkin and and the pumpkin pie spice.  It just adds protein and fiber and makes the bars have staying power.  2)  The sweetener--I use Organic Zero, Truvia and stevia.  Sometimes I use a combination of all of these.  In the recipe, I just say sweetener.  Use whatever you like.  I would just suggest that if you use a liquid sweetener that you use the 4 TBSP of arrowroot or cornstarch to thicken it up more.


Pumpkin Protein Bars

(Regular and Gluten Free Versions)

Preheat oven to 375 degrees.

Crust/Bottom

-1 1/4 cups oats (Gluten free version would use Bob’s Red Mill certified gluten free oats)
-3/4 cups whole wheat pastry flour (Gluten free version would use oat flour)
-1 tsp baking powder
-1/4-1/2 cup sweetener (I don’t mind these bars not being too sweet because they are more of a snack than a dessert for me.)
-3/4 tsp pumpkin pie spice
-1/3 cup unsweetened apple sauce
-1/2 cup almond milk

Mix these ingredients together—dry ingredients—mix up and then add the applesauce and almond milk.  Once they are mixed up, spray a 9 x 13 pan and spread this mixture out on the bottom of the pan.  This is your crust. 

Filling

-1/2 container silken tofu (I use Nasoya Organic Silken Tofu)
-1 cup canned pumpkin
-3-4 TBSP arrowroot or cornstarch
-1 3/4 cups cooked white beans (I use navy beans)—1 can of beans would work fine-just make sure you drain and rinse them.
-1/2 cup sweetener
-1 tsp vanilla extract
-1 TBSP pumpkin pie spice
-1/2 tsp salt

Add all of the filling ingredients to the food processor and puree until smooth.  Make sure all of the beans get pureed.  I usually scrape down the sides of the food processor a couple of times just to make sure everything is mixed up well. 

Once the mixture is pureed, spread it out over the crust in the pan.  Make sure it’s evenly distributed. 

Put in oven and bake for 25 minutes.  While it’s baking, prepare the topping. 

Topping

-1 ounce walnuts (about 1/4 cup), broken into small pieces
-1/4 cup oats (Gluten free version would use the Bob’s Red Mill certified gluten free oats)
-1/4 tsp cinnamon (optional)
-1 TBSP sweetener (optional)

Mix all topping ingredients together in a small bowl.  Set aside—you will not add these just yet. 

Once the bars have baked for 25 minutes, pull them out of the oven.  Evenly distribute the topping.  Using your hand, spoon or other cooking utensil, make sure the topping is pressed down into the filling.  This will help keep the oats and walnuts from falling off the bars after they have baked.  Once you have pressed the topping mixture into the filling, then bake for another 20 minutes. 

You will want to pull the bars out of the oven and give them plenty of time to set up.  This may take awhile.  I usually pull them out of the oven and then do other things for awhile before I cut them up into individual bars.  The bars are good right out of the oven, but they tend to be a little runny.  Once they have set up, they are much more solid. 

When they have completely cooled off, I wrap them individually in plastic wrap and store in the refrigerator. 


I am going hiking this weekend and these will be going with me!  They are great to pack in your lunch bag as a snack, to take hiking or just to have on hand in the refrigerator when you need an instant snack.  Like I mentioned before, they are only 140 calories AND they actually stick with you.  I hope you give these a try and like them as much as I do!